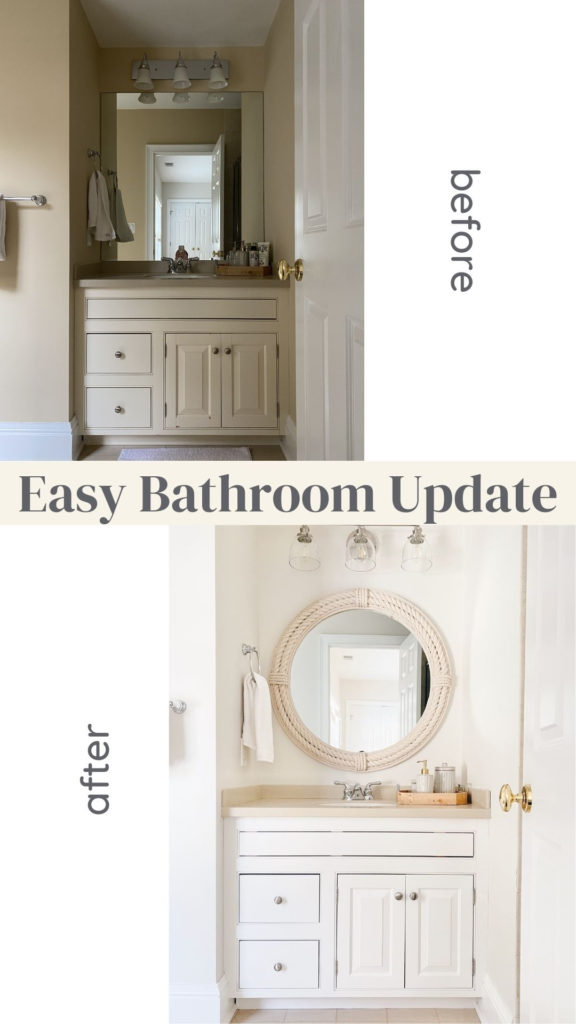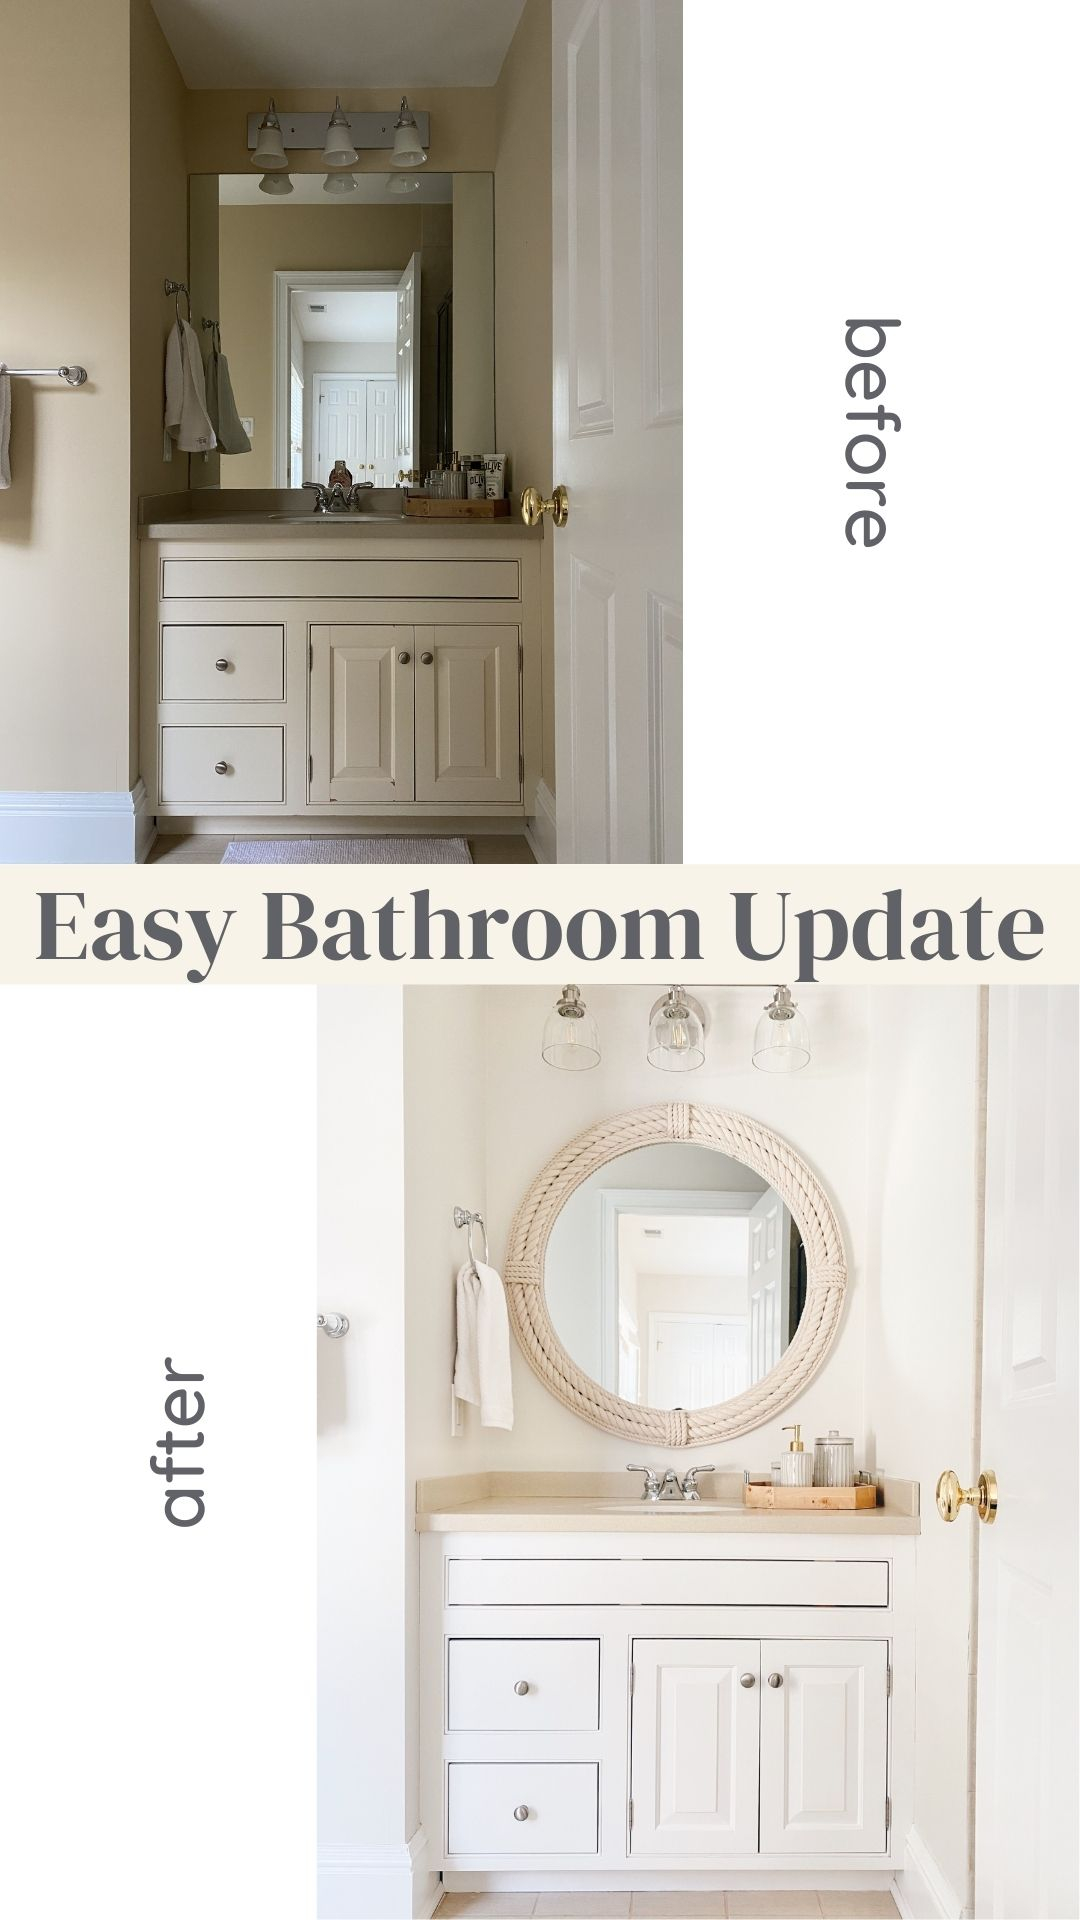
My goal for December was to finish 2 bathroom updates before we head out of town in January. Here is the first bathroom, and the other is wrapping up this week too!
These were light cosmetic updates to give these bathrooms a more modern feel without a big price tag. We did all the work ourselves. My husband is very handy but outside of electrical work these were all things even a newbie could tackle using YouTube tutorials.
The Paint
I painted the vanity with Benjamin Moore cabinet paint in “Decorator’s White”. It started a cream color with lots of chips around the edges. I sanded and prepped the vanity by wiping down all of the surface areas with deglosser. I used a roller and brush (these brushes are my favorite) on the cabinet base and interior but highly recommend using a paint sprayer for doors if you plan to tackle similar projects in the future.
A paint sprayer won’t cost you nearly as much as hiring a licensed painter for just one job. With practice it’s something easy to learn to use. I recommend practicing on a few surfaces before attempting cabinet doors.
Depending on the brand of paint you will probably want to thin the paint with water before sending it through your sprayer. The finish will be much smoother with two coats of sprayed paint than it will be if you use a brush or roller. This is the exact paint sprayer we have, but you can find less expensive options (like this paint sprayer on Amazon) as well. My husband painted our outdoor shed, so if you plan to do larger projects you may want to do a little more research or invest a little more money into your equipment.
I left the cabinets knobs and towel hanging fixtures the same but updated the light fixture and we removed the builder grade mirror. We removed the same type of mirror in this bathroom refresh project as well. There is likely to be light drywall repair needed before you paint the walls. Consult your favorite YouTubers for tutorials.
We used leftover “Classic Gray” (Benjamin Moore) paint on the walls in here. I had wanted to leave the walls the tan color that they were so the mirror would pop even more but there were dry wall repairs needed when the old light fixture came down and we didn’t have that paint color in the house. I am linking the shoppable items I used as well as some similar accessories below.
shop the post:
If you have any questions please drop them in the comment section below. For more DIY projects and renovations check out my Instagram stories or sign up for my weekly newsletter so you don’t miss a post. You can look back at older home blog posts here.


Susan A
December 23, 2020 at 2:13 pmHi Rachel! Your new house is looking gorgeous! I am having my basement remodeled courtesy of Amica, due to a flood from a boiler issue. I chose the lightest burber carpet the Remodel company offered, but I need to choose paint colors to try to brighten up a low light fairly small finished basement room (12x24ft). You are the Queen of keeping things light and bright, lol, so I thought you might have some suggestions. 🙂 I enjoy your posts. I am sure it is a lot of work, but I think maybe a bit more fun than nursing during the era of COVID, lol. Thanks for the distraction. 🙂
Rachel
December 23, 2020 at 2:20 pmThank you Sue!!! Classic gray is one of my very favorites. We have it in our dining room, three bedrooms, and a couple bathrooms. I would try a sample of that!!
Hope you’re well.
Rachel